In this guide, we walk you through our initial Zoho CRM implementation checklist. To follow along with this guide, you should have an active account Zoho set up and logged in to CRM. If you do not have an account set up yet, head over to Zoho CRM and sign up now.
The initial set up of Zoho CRM may seem a little daunting and with so many configuration options, one can feel a little lost at first. However, with a little guidance, you will quickly find your way around. We will take you through the most important steps in setting up your CRM for first use and by the end of this guide, you will be well on your way to actively using Zoho CRM in your business. For those that prefer to let someone else take care of your implementation, take a look at our Zoho CRM Implementation services.
The steps in our Zoho CRM Implementation Checklist are:
- Onboarding Users and Configuring User Permissions
- Customization of Modules, Fields and the Home Screen
- Importing Data
- Configuration of Communication Channels
- Basic Automation
- Reporting
Onboarding Users and Configuring User Permissions in Zoho CRM
The very first thing we’ll be covering in our Zoho CRM implementation checklist is setting up the first users. A user which more often than not will be an employee is someone that has direct access to the system via a username and password. Permission will control what data they have access to and which features they can use. Permissions are split into two sections including Roles and Profiles. Simply put, Roles control what data users can see and Profiles control what they are allowed to do. Roles are based on your company’s hierarchy. You can add users into their corresponding roles and define who they report to. The top-level role will have access to all the roles below them. The role below that will only have access to the data of the roles below them.
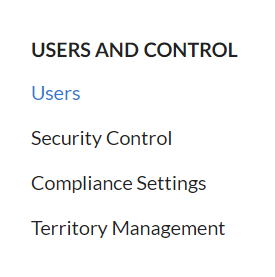
To set these up, open Zoho CRM in your browser (Quick tip – the quickest way to access Zoho CRM is through the direct URL – crm.zoho.com) and click on the tools icon in the top right corner. This will take you to the Setup page. In the Users and Control section, you can configure your users and permissions. For the initial setup, you can leave the Standard profile in place.
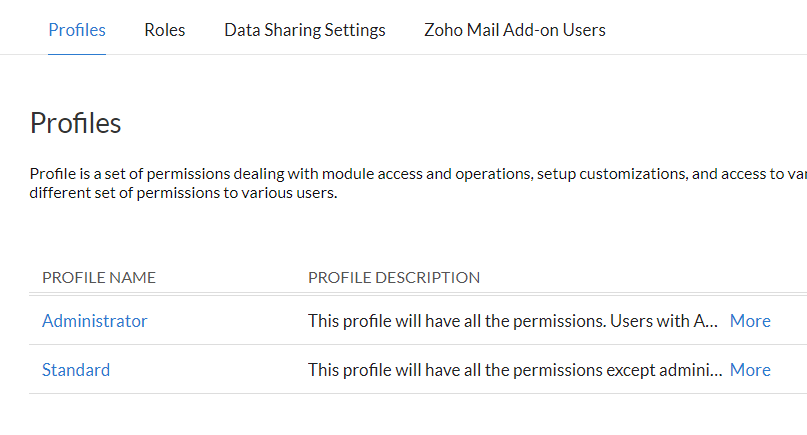
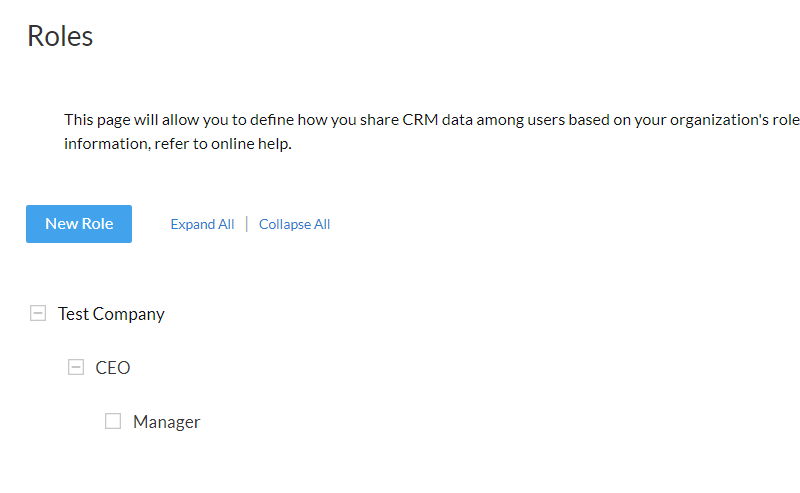
Once it becomes clear what permissions you would like to limit, additional profiles can be created. However, this is a good time to define your basic roles in your organization. To do so, click on Security Control in the Users and Control section, and then select Roles in the menu bar at the top. From here, you can set up your roles as required.
Next, you need to onboard some users. To create a new user, click on Users, New Users. Provide the details of your new user and select their profile and role. The system will send that new user an email inviting them to CRM at this stage.
They will receive a link in their inbox and when they click on it, will be prompted to create a password for their account.
Customization of Modules, Fields and the Home Screen
It is time to decide what to customize inside Zoho CRM. Zoho CRM is customizable in more ways one can imagine and many of these customization capabilities or requirements will only become clear after you have started using the system. We will not be able to cover all the customization capabilities in this guide. Instead, we will focus on the one that most companies will look at first including modules and fields. While the CRM can be used out of the box, it is so much more useful when it is customized to suit your company requirements when it comes to what data you need to capture, and how you will capture it.
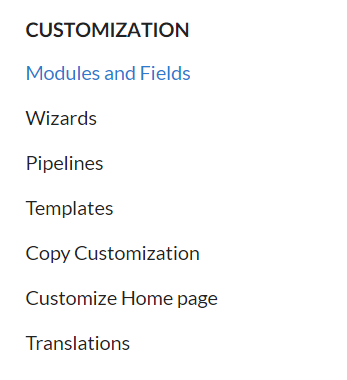
To start customizing your CRM, click on the tools icon in the top right-hand corner, and select the Modules and Fields option in the Customization section.
An important part of the initial customization which will help a great deal with user adoption is to remove those parts of the CRM that is not useful to your company. This includes turning off unused modules and removing unused fields inside your active modules. So to hide/disable modules that will not be used, click on the Organize Modules button on the right-hand side of the page above the module list. To hide modules, simply untick them in the list. Should you at a later stage wish to make use of the hidden module, it is as simple as simply coming back to the screen, and ticking the module you would like to use. From here you can also reorder your modules as desired.
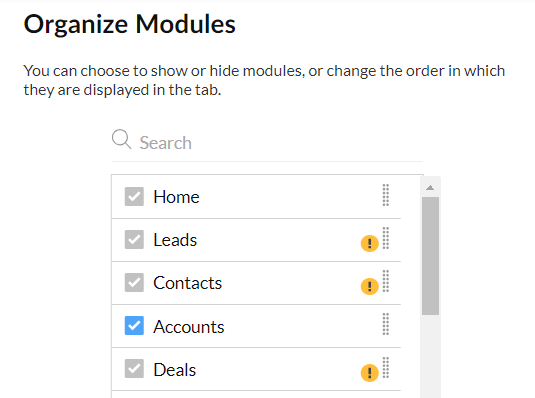
Click Save when you are done.
Now that only the required modules are active you can define the fields you would like to show in each. You can remove those that will not be used and add the ones you require. To do this, click the link to the corresponding module and select the layout you wish to edit. In most cases, you will be editing the “Standard” Layout first and work from there. Click on the Standard link to open the Layout Customization screen.
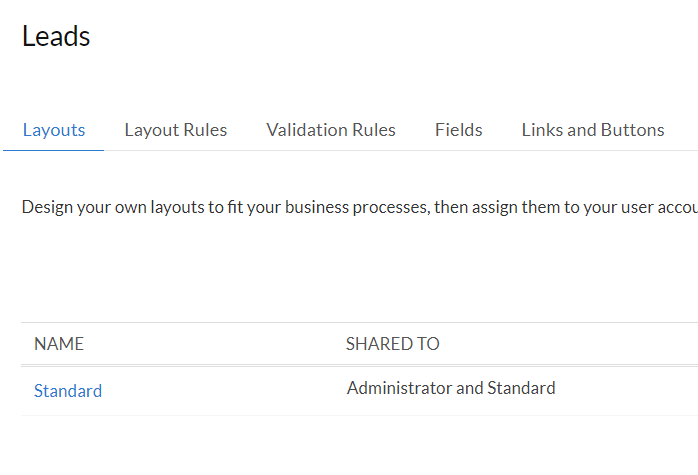
From here you can now change up the layout as desired which includes adding the new fields required in your company.
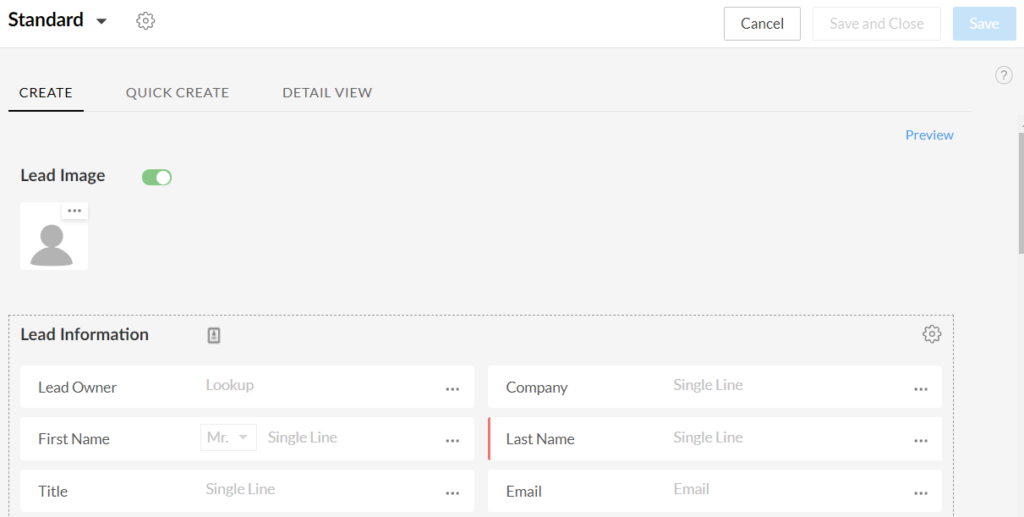
Making sure all the required fields that apply to your company and data structure are available is an important step you need to pay close attention to as the fields you make available at this point will be the same fields you need to map all your data to when you start importing your data.
Another part of the customization you would want to look at as part of your initial setup is the home screen. If you have a specific layout you would like your users to view when they login to CRM, you can create that view and share it with your users. To create a new click on the drop-down list at the top right of your home page and then select Customize Home Page.
Importing Data
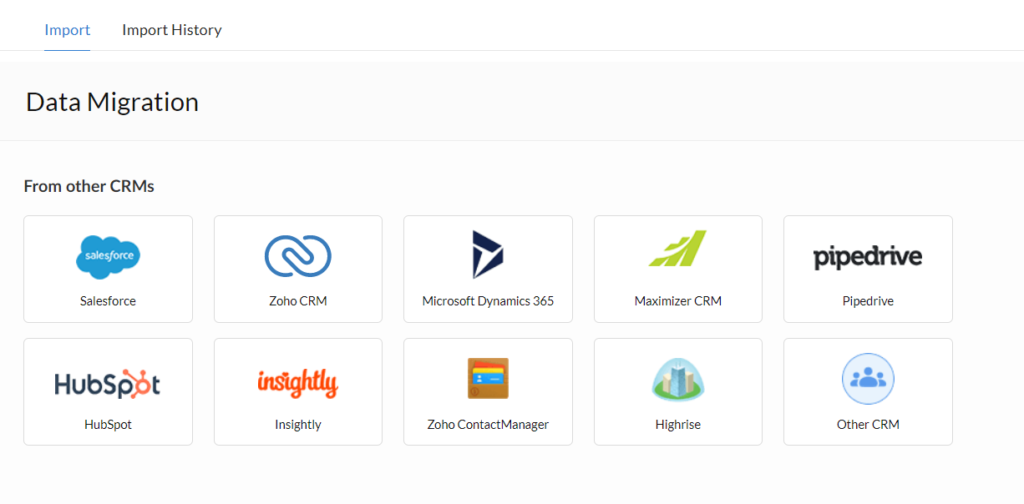
For most companies moving over to a new CRM, the next step would be to import their existing data. We have already defined all the fields in our modules to which our imported data will be mapped, so now we can go ahead and start importing some data. There are two ways of importing data into Zoho CRM. You can either import your data with file upload or use the migration option to migrate your data from another CRM. To use the migration option, select the tools icon and choosing Import below Data Administration. From here you can then specify and the CRM you are migrating from and follow along with the prompts.
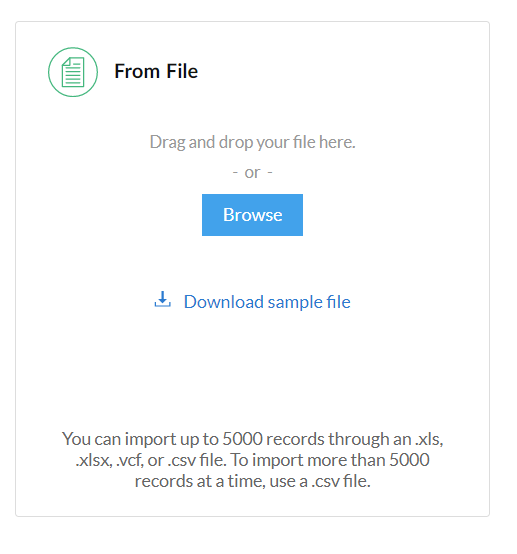
If you are not migrating from another database and would like to simply import your data from a spreadsheet, you can do so from the corresponding module. For example, if you have a list of leads you would like to upload to the CRM, you would do so from the Leads module. Once inside the module, click on the Import button at the top right-hand side of the page. From here you can select the file you would like to upload and map the fields to your custom fields inside CRM.
For those companies that collect leads from their websites, it is also a good time to integrate your website into CRM. Zoho CRM provides the ability to create web forms directly in CRM and then it is possible to embed that form on your website contact page. It is also possible to integrate most contact form plugins into Zoho CRM and a quick Google search with your plugin name + Zoho CRM will reveal the options available to you.
Configuration of Communication Channels
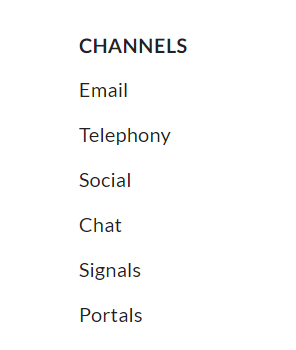
A lot of what we’ll be doing in CRM has to do with communicating to our customers and Channels is where we configure and integrate the various communication technologies. The foremost being email. You probably know by now that Zoho CRM offers the ability to integrate directly to your CRM users’ mailboxes which provides the necessary context when dealing with customers, directly from CRM. Once email integration is complete, all communication between a user and customer is available to view directly on that lead or contact’s record in CRM. To start setting up your channels, click on the tools icon and select the channel from the Channels section you would like to configure first.
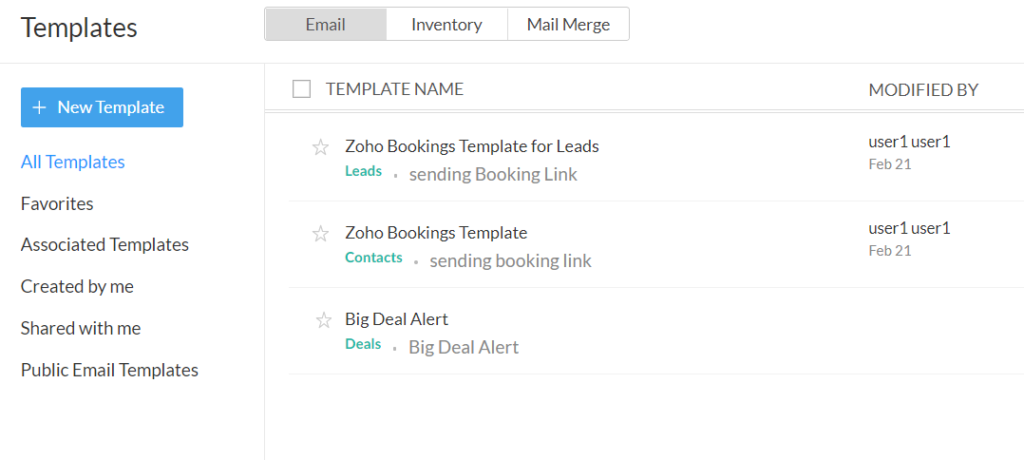
Now that you have email integration set up, it is a good time to take a look at Templates. With templates, we can draft a range of preformatted, prewritten emails that our users can choose from in their day to daily operations. The email templates we create here can also be used in Automation to send out emails based on predefined triggers inside a workflow.
Basic Automation
There a many different types of automation in Zoho CRM. In our Zoho CRM Implementation checklist we’ll only be covering the basics.
Assignment Rules allow us to assign records to certain users inside CRM. (Note that this is not for records that are manually added.) Assignment rules apply to records that are automatically added to CRM, for example, new leads that are added to CRM from your website integration.
Workflow Rules allow us to automate common procedures inside CRM. A simple example of a workflow rule is a task that gets created when a lead comes in from a specific source. Workflow rules and Automation in CRM are extremely powerful and for this guide, we only make mention of them. To learn more about the possibilities with Zoho CRM Automation, please click here.
Blueprints is another automation feature we’ll only briefly cover in this guide. It will take some time to develop your Blueprints but it’s a good time to start thinking about how you can implement Blueprints to your CRM. Zoho CRM Blueprint gives us the ability to, using our business process flow as a guideline, provide a mechanism to physically guide our users through the CRM processes. Each process in your business flow can be modeled inside this Blueprint and will provide a great deal of functionality moving forward. For each transition in the Blueprint, it is possible to collect the mandatory information required at that point, trigger automation such as creating tasks and sending notifications, provide information to the CRM user, actioning escalations, approvals and several other actions.
Reporting
The last step in our Zoho CRM Implementation checklist is reporting. Now that we have our data structures set up and have some data in the system, we can start generating reports.
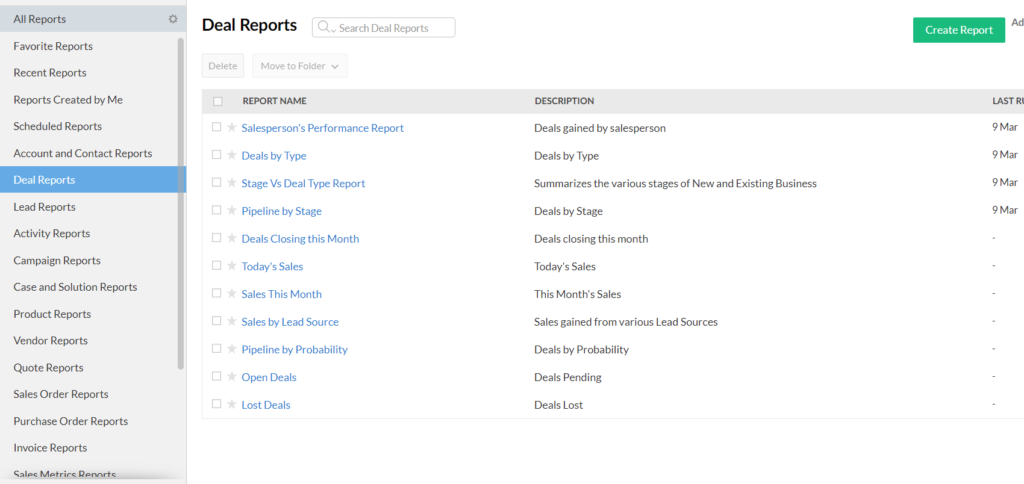
Zoho CRM comes standard with over 100 reports which you can run as is or modify as necessary. You are also able to create your reports to suit your business.
Hire an Expert
KumoFlow offers a range of software consultation services, including Zoho CRM Implementation. Please get in touch to find out more.